
First Steps After Installation
You have a running installation — this page is your go-live checklist, in the order that works best.
1. Secure the seeded accounts
Log in to the admin panel (/admin) with admin@spagreen.net / 12345678:
- Change the email and password under your admin profile.
- Create personal accounts for your team in System → Admin Users and assign roles in System → Roles & Permissions.
Then log in to the client app (/login) with client@spagreen.net / 12345678 and change or delete that account once you no longer need it for testing.
2. Activate your license
Admin → System → License — enter your purchase code. This verifies your copy and unlocks one-click updates. Details in License Activation.
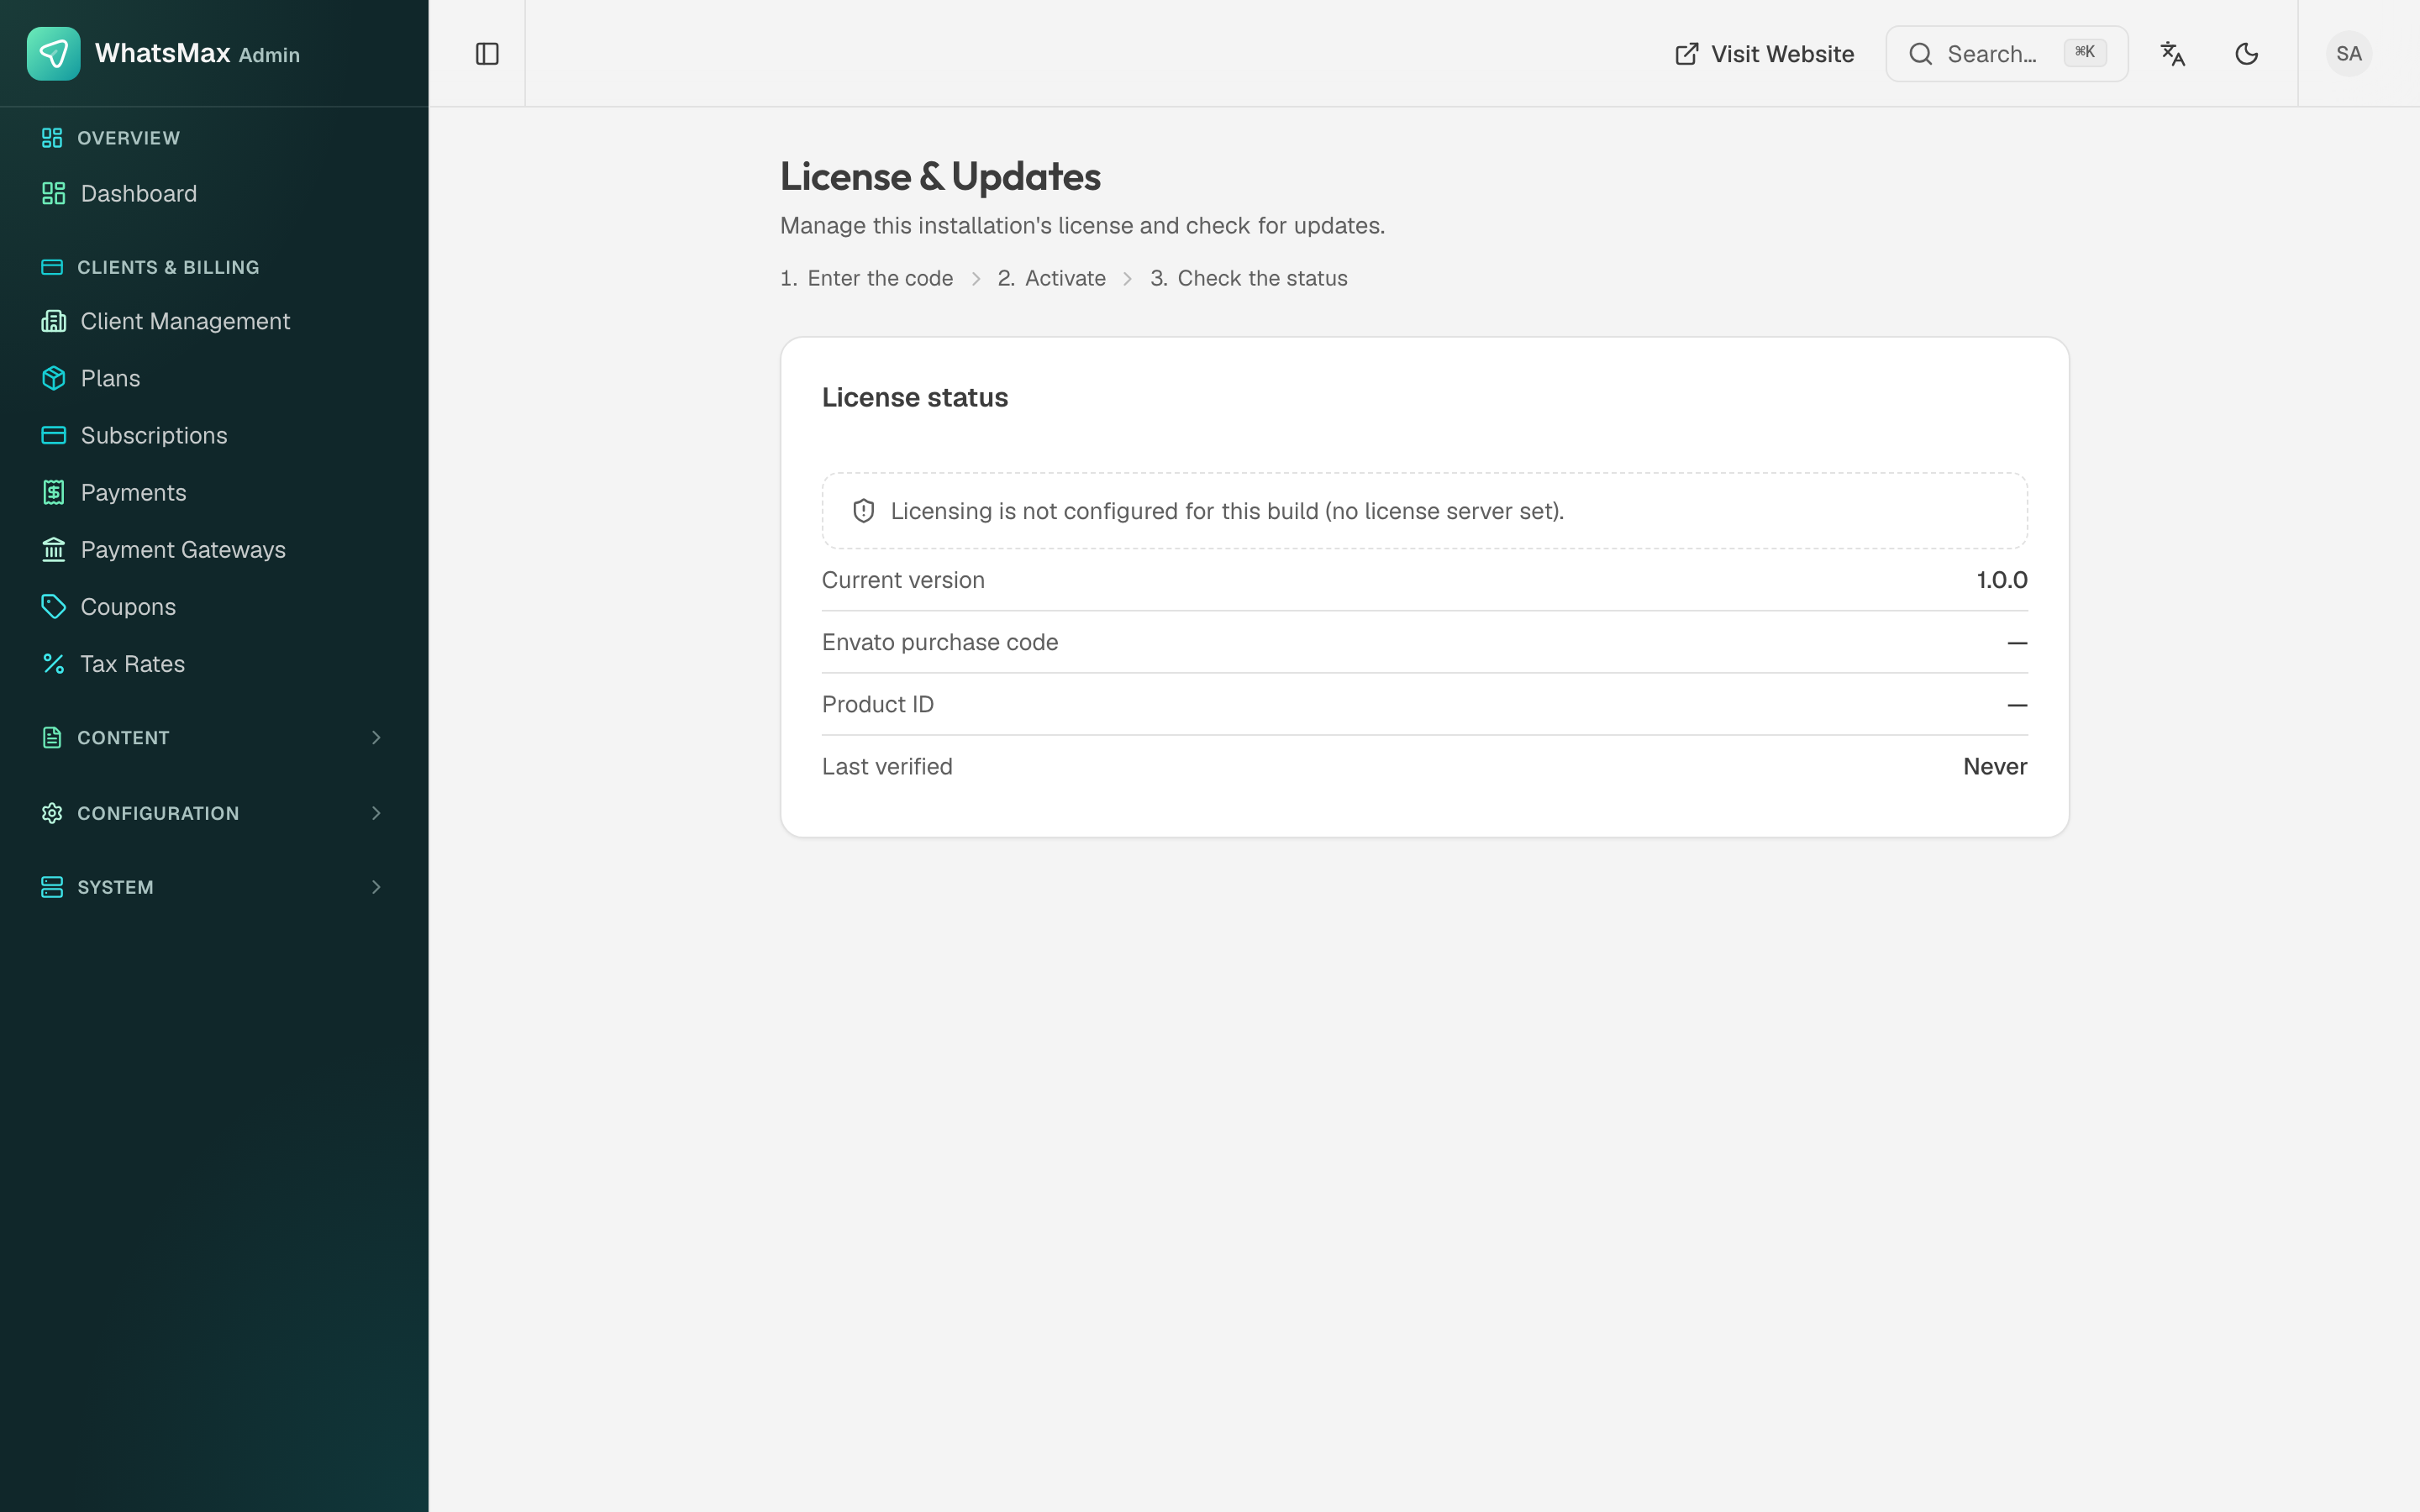 License activation in the admin panel.
3. Brand the platform
- Admin → Configuration → Settings — application name, tagline, support email, brand colours and typeface. See Configuration.
- Admin → Content → Site Content — every section of the public site: hero, features, pricing, testimonials, FAQ, plus the About and Integrations pages.
- Admin → Content → CMS Pages — terms, privacy policy, refund policy and other static pages.
- Admin → Configuration → Locales / Currencies — enable the languages and currencies you sell in.
4. Configure email
Add an SMTP configuration in Admin → Content → Email → SMTP and use Send test email to prove it, or set the credentials in .env instead (see Configuration → Mail) and restart. Then review the templates on the Email templates tab.
5. Set up payments and plans
- Admin → Clients & Billing → Payment Gateways — enter credentials for the gateways you want to offer (gateway-by-gateway guide).
- Admin → Clients & Billing → Plans — the seeder created Free / Starter / Pro / Business example plans. Adjust names, prices, trial days, limits and features to your business.
- Optionally create Coupons and Tax Rates.
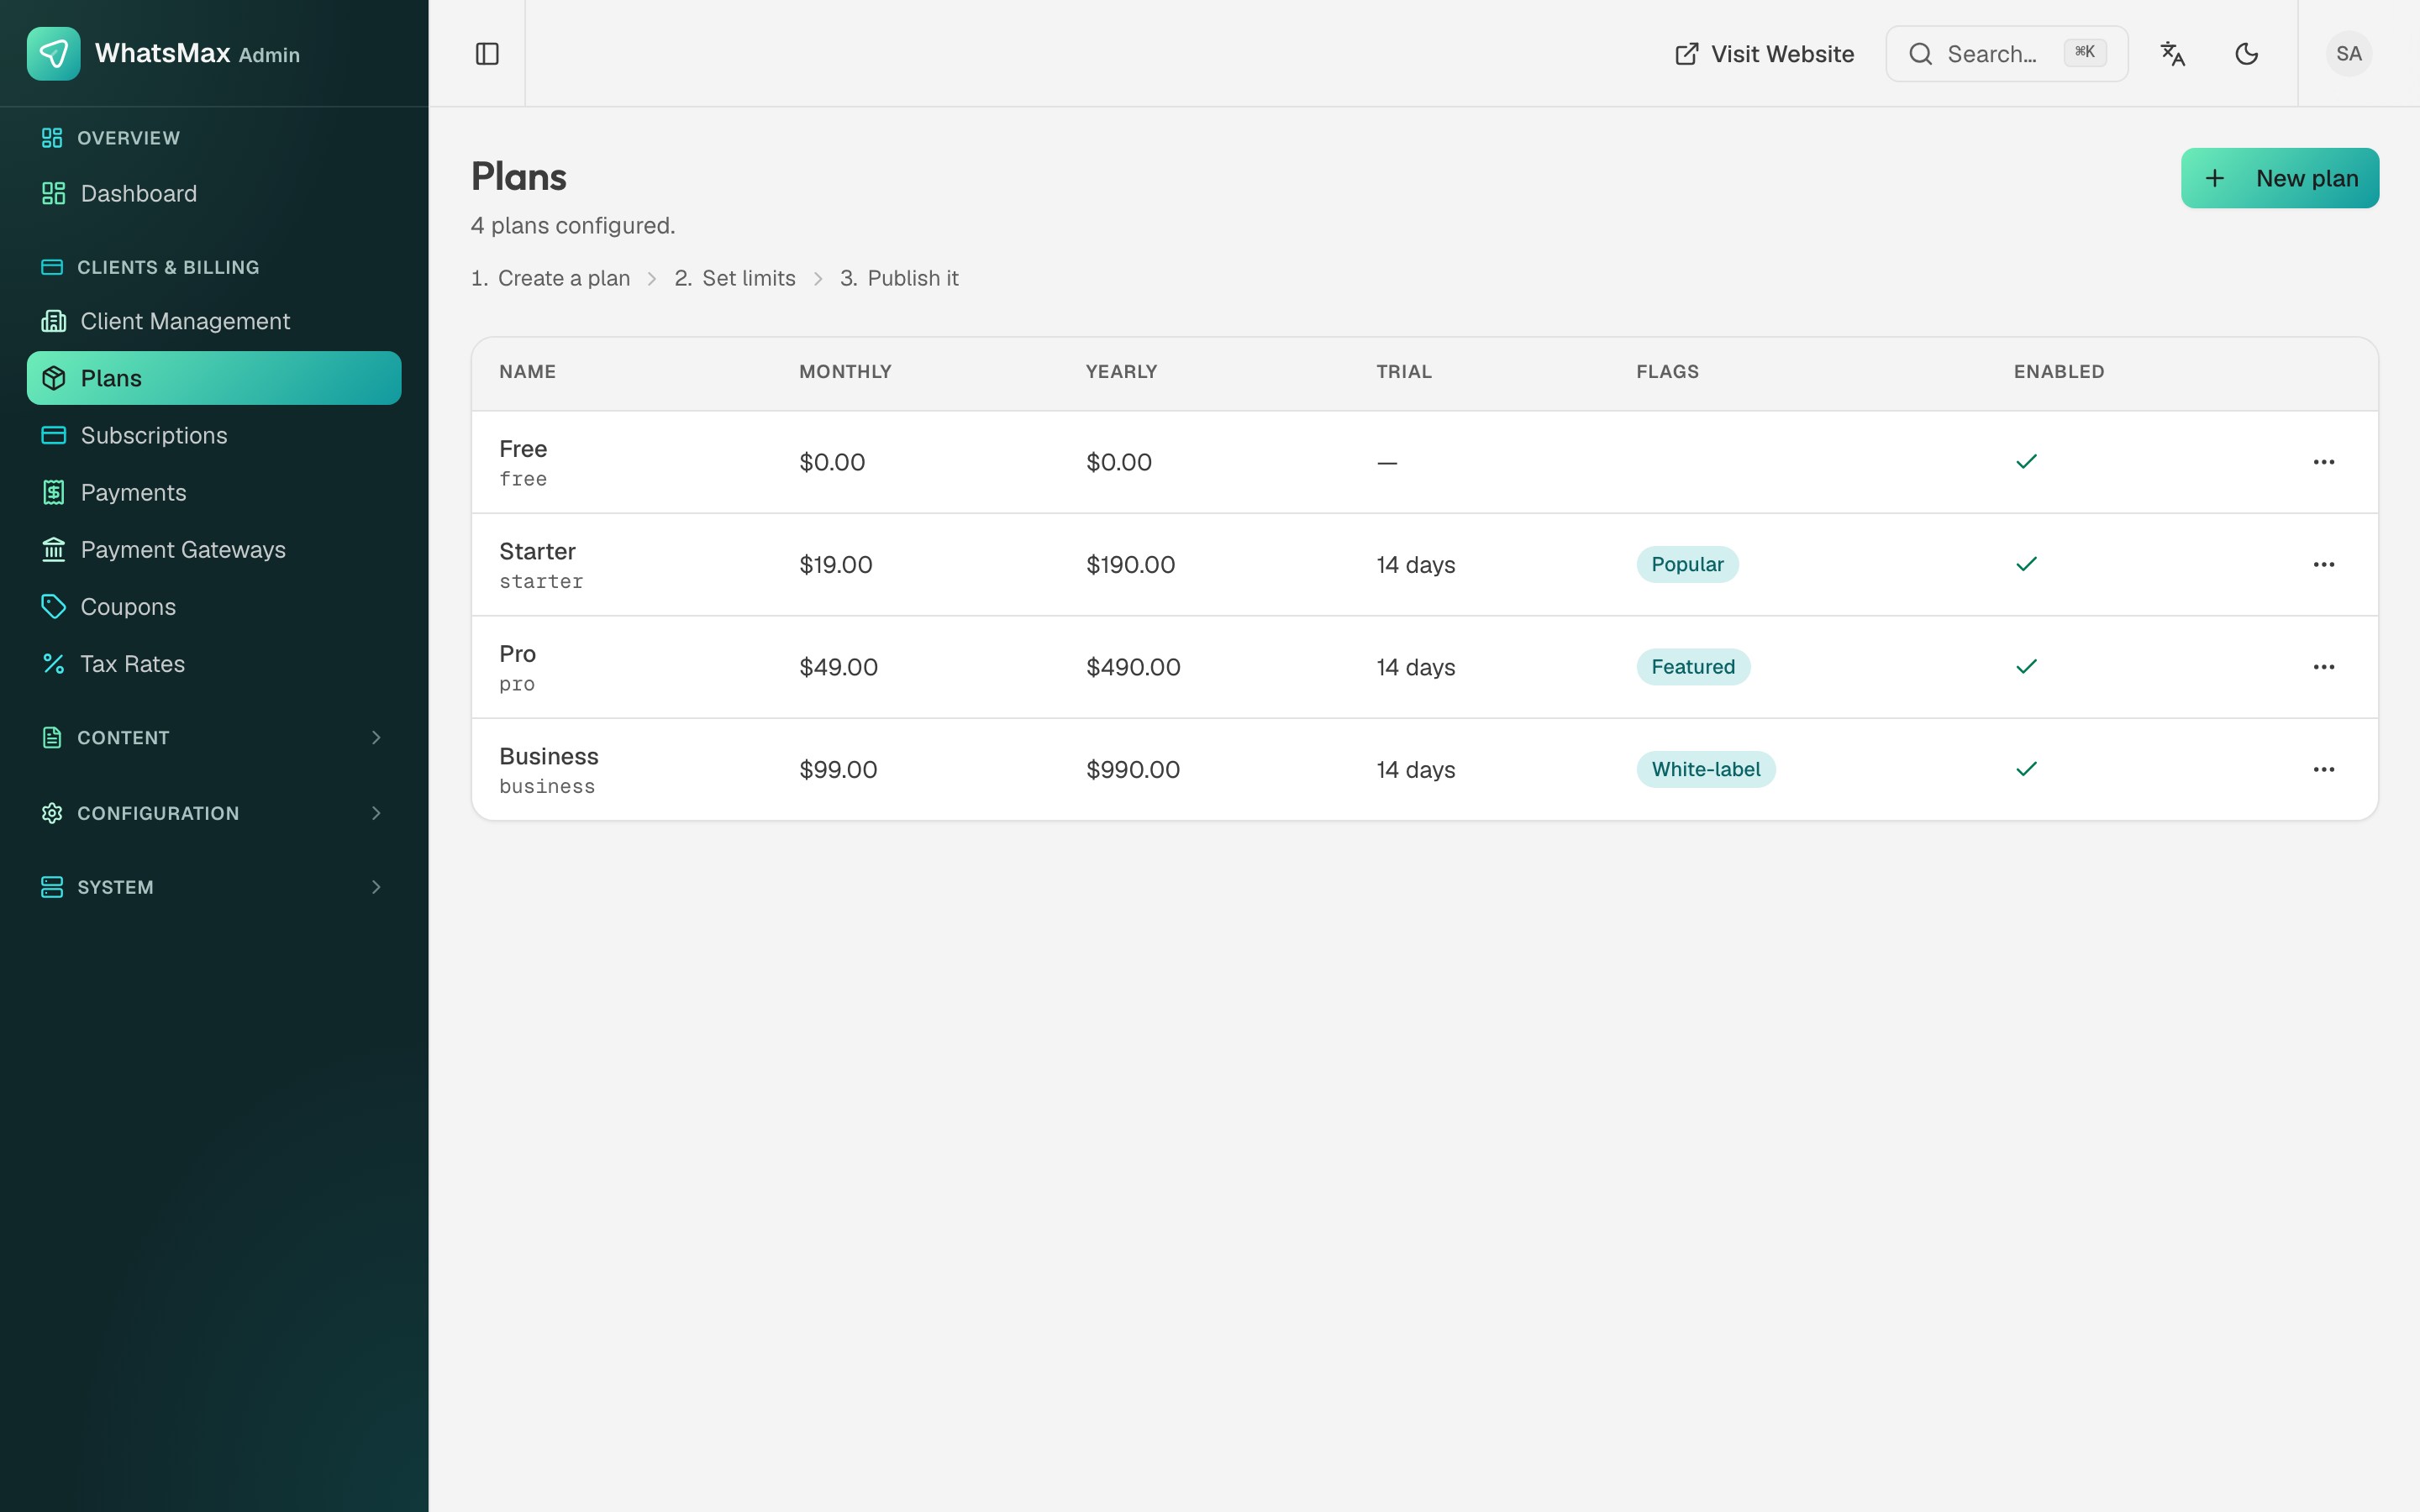 Subscription plans — these are what your customers buy.
6. Connect the platform integrations
Work through the Integrations section for each service you plan to offer: WhatsApp Cloud API, Messenger/Instagram, social publishing apps, AI providers, SMS gateways.
7. Verify the background system
Admin → System → Queue shows queue depth and failed jobs; Admin → System → Cron Setup shows the scheduler heartbeat and gives you the exact cron line for your installation. Both should look alive within a minute of starting the worker and adding the cron entry. If not, see Troubleshooting and System & Health.
8. Do a full dry run as a customer
- Register a fresh account on your landing page.
- Subscribe to a paid plan using your gateway's test mode.
- Connect a WhatsApp test number, send yourself a campaign, build one automation, chat with an AI bot.
- Check the reports pages populate.
When the dry run feels smooth, flip your gateways to live mode. 🎉
Keep a staging copy
Before applying future updates to production, replay them on a staging copy of your server first. The Updates chapter covers safe upgrade procedure with backups.