
Installation (CLI)
This chapter walks you through a complete command-line installation, from uploaded files to a running application. Every step is copy-pasteable.
Before you start
Make sure your server meets the requirements and that your MySQL database and Redis server are running.
1. Upload and extract the files
Upload the product ZIP to your server and extract it to the directory you want to run from, for example /var/www/whatsmax:
sudo mkdir -p /var/www/whatsmax
sudo unzip whatsmax.zip -d /var/www/whatsmax
cd /var/www/whatsmax
Make sure your (non-root) deploy user owns the directory:
sudo chown -R $USER:$USER /var/www/whatsmax
2. Install dependencies
npm install
This installs all production and build dependencies. It typically takes 1–3 minutes.
Do not use --omit=dev
The background worker and scheduler load TypeScript through tsx, which is a dev dependency. Installing without the dev dependencies leaves you with a web app that works and background jobs that never run.
3. Create your environment file
Copy the example environment file and open it in an editor:
cp .env.example .env
nano .env
Set at minimum the following values (the Configuration chapter documents every variable):
# The public URL your app will be served from (https in production!)
APP_URL=https://chat.example.com
NEXTAUTH_URL=https://chat.example.com

# Your MySQL connection — user, password and database from the Requirements step
DATABASE_URL="mysql://whatsmax:choose-a-strong-password@127.0.0.1:3306/whatsmax"

# Redis
REDIS_URL=redis://127.0.0.1:6379

APP_ENV=production
Generate the two secrets
AUTH_SECRET signs login sessions; APP_ENCRYPTION_KEY encrypts stored provider credentials (API keys you enter in the admin panel are encrypted at rest with it). Generate both:
# AUTH_SECRET
openssl rand -base64 32

# APP_ENCRYPTION_KEY (must be 64 hex characters)
openssl rand -hex 32
Paste each value into .env:
AUTH_SECRET="<output of openssl rand -base64 32>"
APP_ENCRYPTION_KEY="<output of openssl rand -hex 32>"
Never change APP_ENCRYPTION_KEY after go-live
All provider credentials stored in the database are encrypted with this key. If you change it later, every stored integration credential becomes unreadable and must be re-entered.
4. Set up the database
Run the migrations, generate the Prisma client, and seed the initial data:
npm run db:generate    # generate the Prisma client
npm run db:deploy      # run all database migrations
npm run db:seed        # seed roles, plans, locales, currencies, email templates + admin account
The seeder prints the admin account it created:
✓ Admin: admin@spagreen.net / 12345678
The seed also creates a demo client account (client@spagreen.net / 12345678) with a sample workspace so you can explore the client side immediately.
Seed your own admin credentials
Set SEED_ADMIN_EMAIL and SEED_ADMIN_PASSWORD in .env before running npm run db:seed and the super-admin is created with those instead of the defaults above — worth doing on a server that is already reachable from the internet.
5. Build the application
npm run build
This produces an optimized production build. On a 2-vCPU server expect 2–5 minutes.
6. Start the processes
WhatsMax needs a web app, a queue worker and a scheduler tick. For a quick smoke test, open two terminals (or use tmux):
npm start              # terminal 1 — web app on port 3000
node scripts/worker    # terminal 2 — background job worker (long-lived)
and run one scheduler tick by hand to prove it works:
node scripts/scheduler # runs the due tasks once and exits
Then open http://your-server-ip:3000 in a browser. You should see the landing page.
npm run worker is for development only
npm run worker and npm run scheduler run under tsx watch, which restarts on every file change. Use the extensionless launchers — node scripts/worker, node scripts/scheduler — everywhere else.
This is only a smoke test
Processes started this way die when you close the terminal, and one scheduler tick is not a schedule. For real deployments continue to Production Deployment, which puts the web app and worker under PM2 and the scheduler in cron.
7. Log in and secure the default accounts
| Panel | URL | Password | |
|---|---|---|---|
| Admin panel | https://your-domain/admin | admin@spagreen.net | 12345678 |
| Client app | https://your-domain/login | client@spagreen.net | 12345678 |
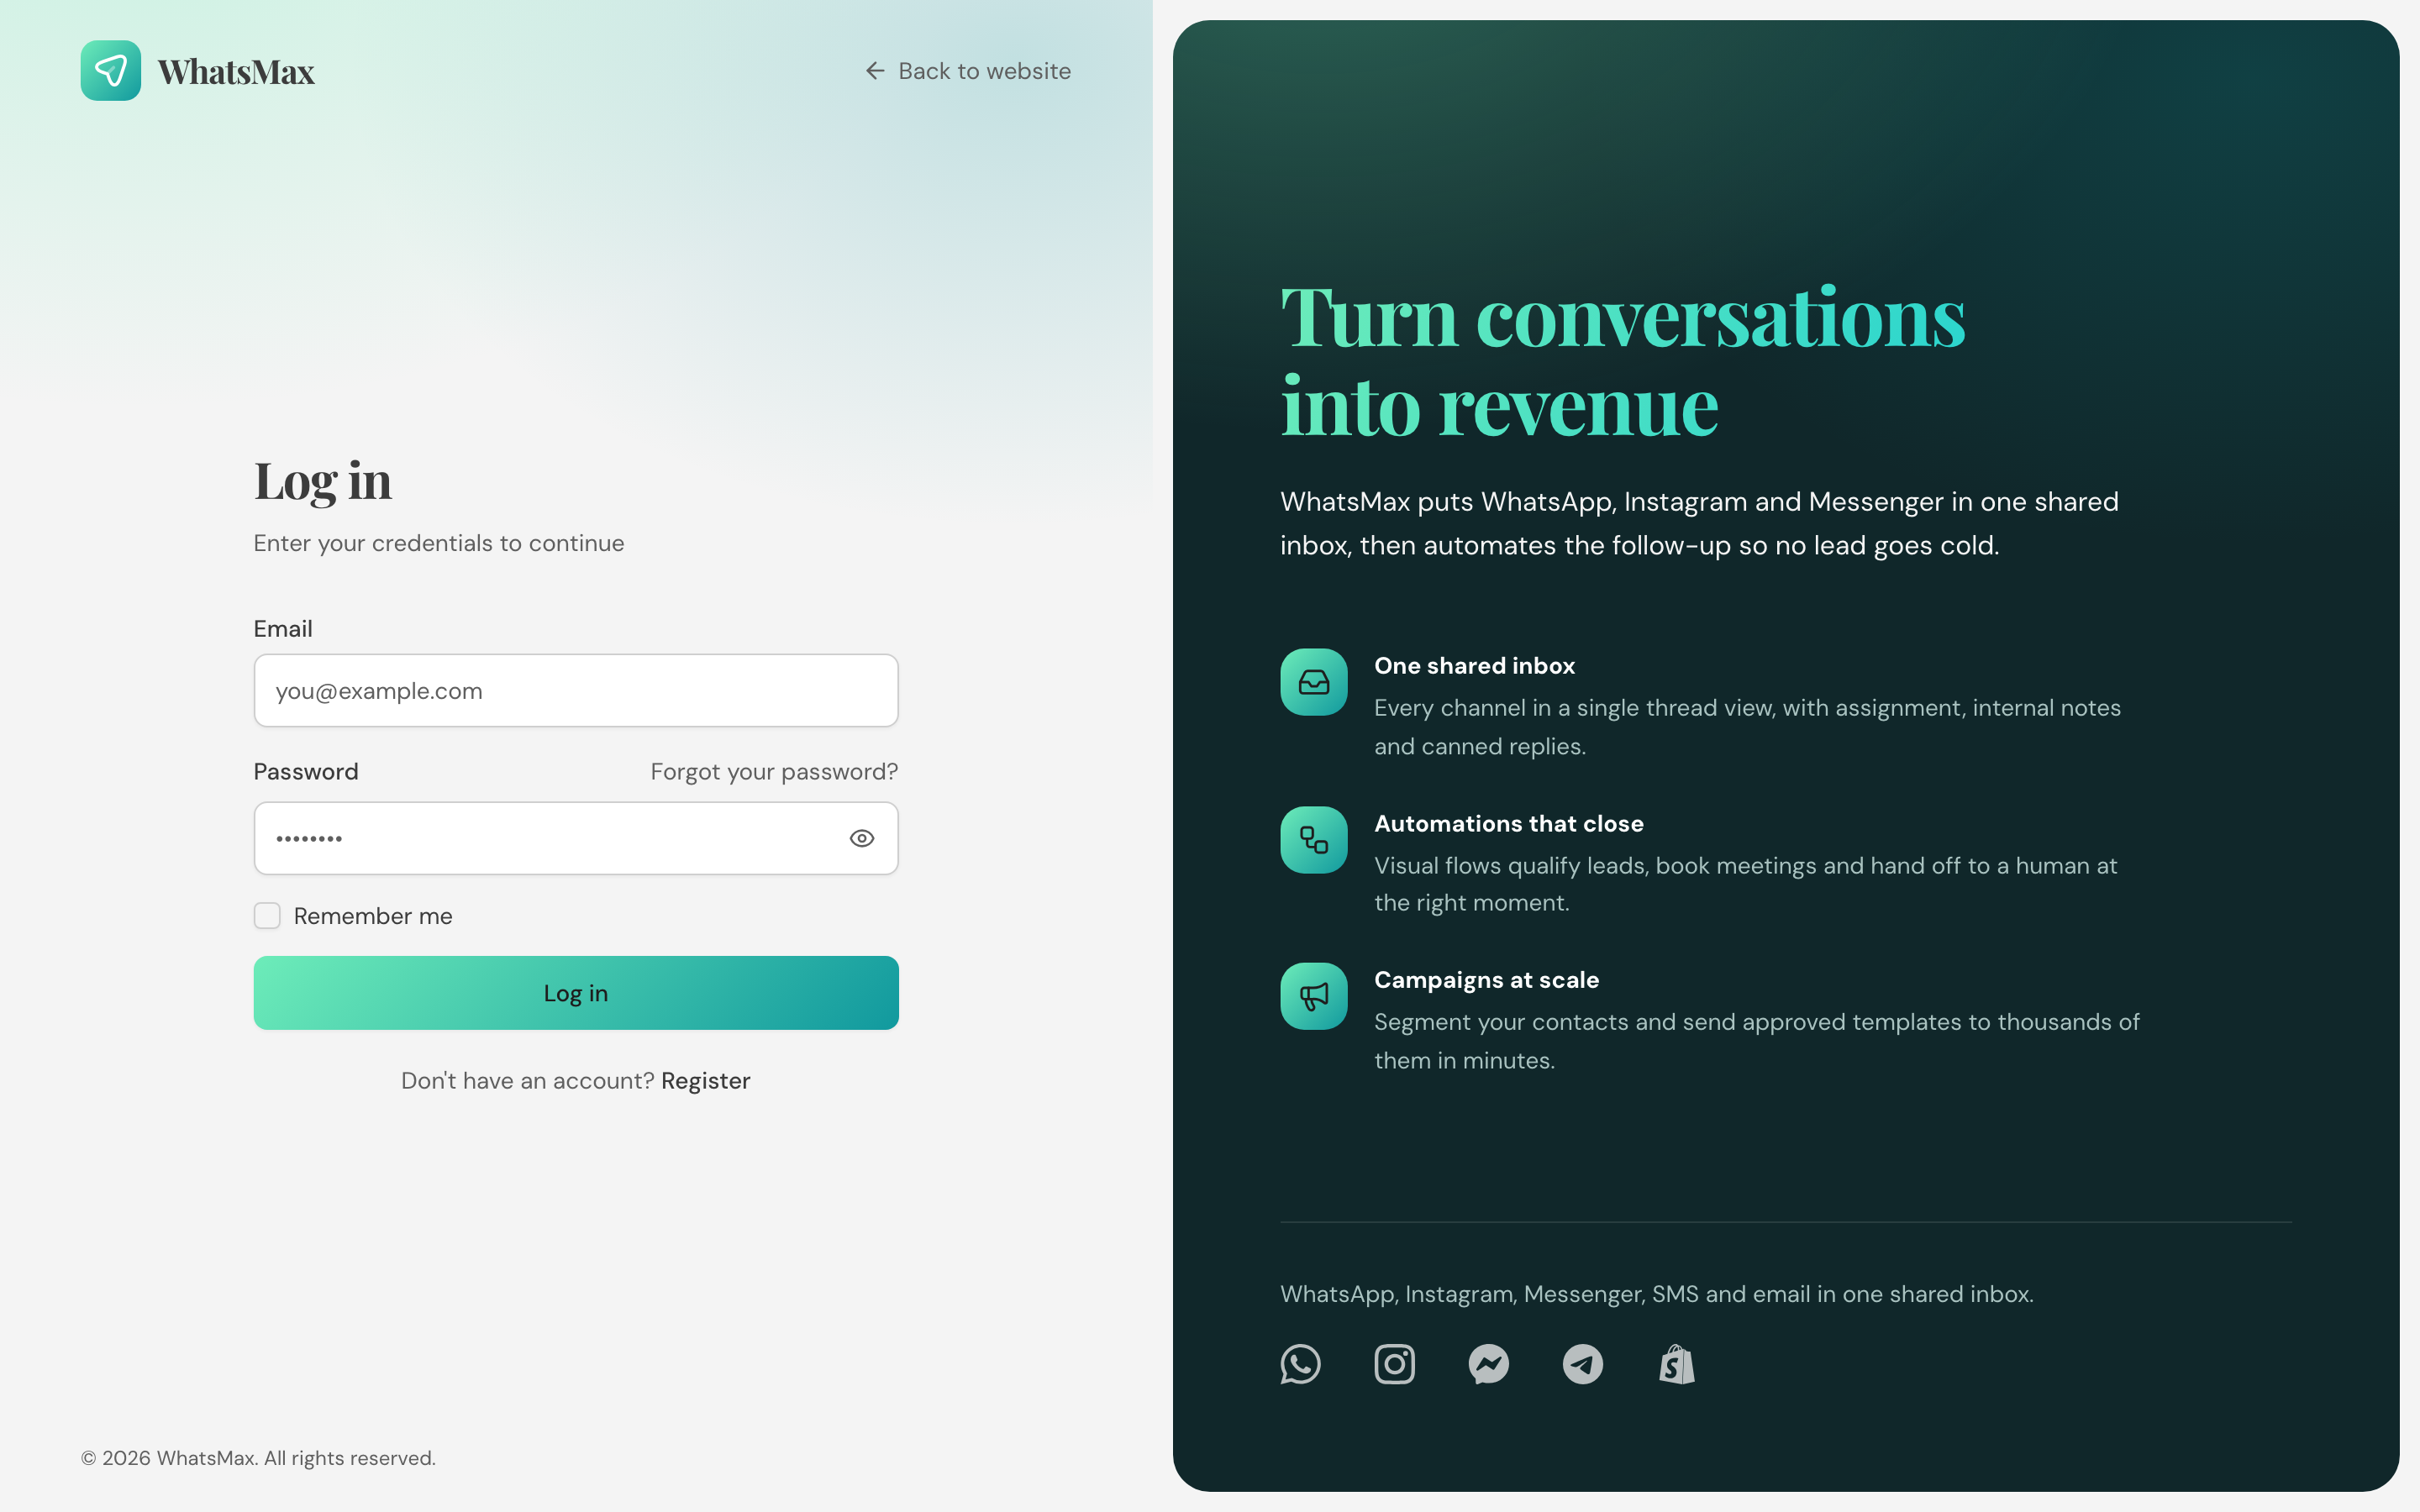 One sign-in form serves both the admin panel and the client app.
Change these immediately
The seeded passwords are public knowledge (they are in this documentation). Log in to both accounts and change the email addresses and passwords before exposing the server to the internet.
8. Activate your license
Go to Admin → System → License and enter your purchase code to activate the product and unlock one-click updates. See License Activation.
Installation recap
cd /var/www/whatsmax
npm install                          # plain install — the launchers need the dev deps
cp .env.example .env && nano .env    # set URLs, DB, Redis, secrets
npm run db:generate && npm run db:deploy && npm run db:seed
npm run build
npm start & node scripts/worker &    # then add the scheduler cron entry
Next: Configuration reference → First steps → Production deployment.